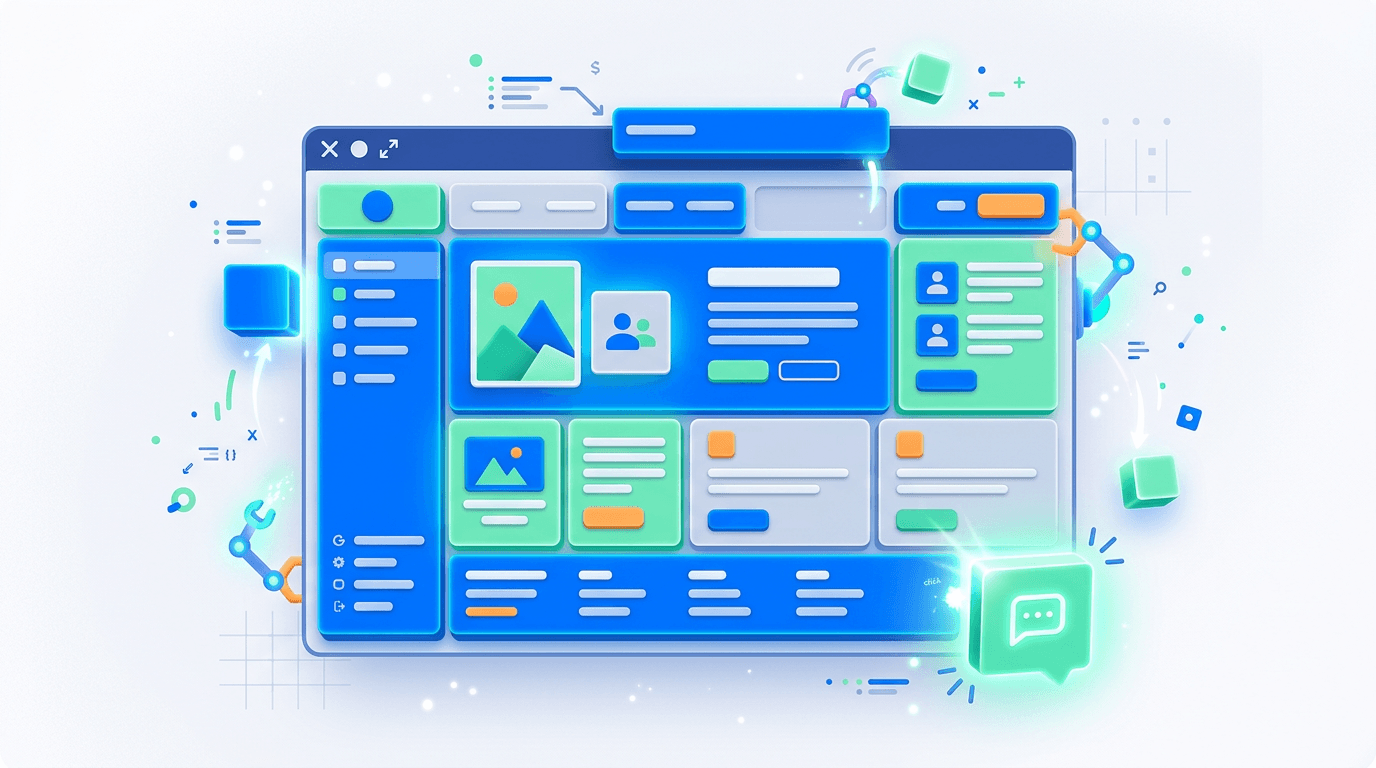
Adding an AI chatbot to WordPress takes 2 minutes — paste one script tag into your theme's header or use the Insert Headers and Footers plugin. No PHP knowledge required. This guide covers three methods so you can pick the one that fits your comfort level.
Why use an AI chatbot on WordPress?
Traditional WordPress chatbot plugins use rigid decision trees. A visitor clicks through predefined options hoping one matches their question. AI chatbots are different — they understand natural language and answer from your actual content.
The practical advantages over rule-based bots:
- Answers questions you never anticipated (no need to pre-program every response)
- Learns from your existing pages, posts, and documentation automatically
- Handles complex, multi-turn conversations
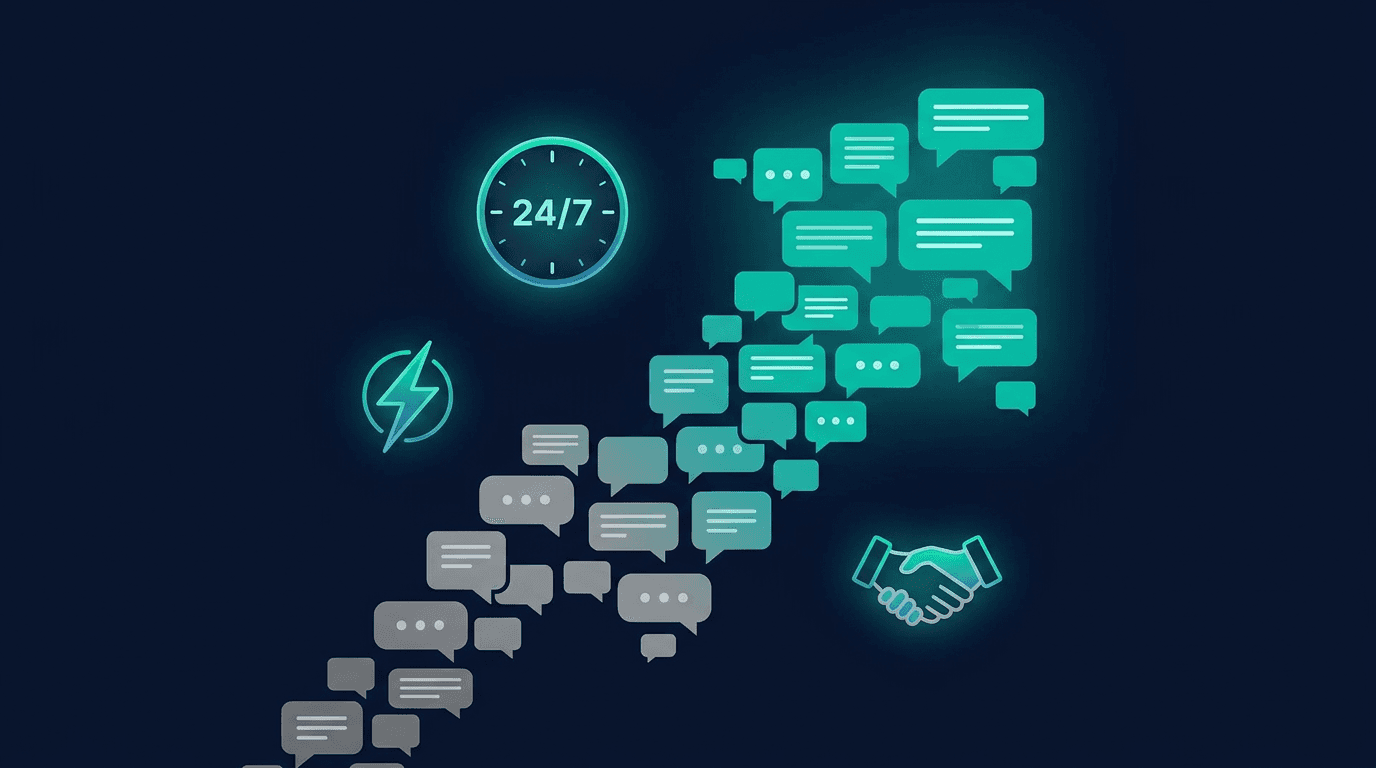
- Reduces support emails by 40-60% according to industry benchmarks
WordPress powers 43% of the web. Whether you run a WooCommerce store, a membership site, or a corporate blog, an AI chatbot handles visitor questions while you focus on your business.

Method 1 — Insert Headers and Footers plugin (easiest)
This is the recommended method if you do not want to touch any theme files. It takes about 90 seconds.
- Install and activate the WPCode (Insert Headers and Footers) plugin from the WordPress plugin directory
- Go to Code Snippets → Header & Footer
- Paste your chatbot script tag into the Header section:
<script
  src="https://cdn.rentabot.chat/widget.js"
  data-api-key="your-api-key-here"
  async>
</script>- Click Save Changes
The chatbot will appear on every page immediately. No cache clearing needed — the script loads independently of WordPress's page cache.
Pro tip
Get your API key from the rentabot.chat dashboard. Each chatbot gets a unique key that connects it to your specific knowledge base and configuration.
Method 2 — Theme header (functions.php or header.php)
If you prefer not to install another plugin, you can add the script directly to your theme. This method survives plugin deactivation but will be lost if you switch themes.
Option A: functions.php (recommended)
// Add AI chatbot to all pages
function rentabot_chatbot_script() {
  echo '<script
    src="https://cdn.rentabot.chat/widget.js"
    data-api-key="your-api-key-here"
    async></script>';
}
add_action('wp_head', 'rentabot_chatbot_script');
Option B: header.php
Open Appearance → Theme File Editor → header.php and paste the script tag just before the closing </head> tag.
Use a child theme
If you edit theme files directly, always use a child theme. Otherwise, your changes will be overwritten when the parent theme updates.
Method 3 — Page builders (Elementor, Divi, etc.)
Most page builders have an HTML widget or code module. This method is useful if you only want the chatbot on specific pages.
- Elementor: Add an HTML widget to your header template or any page. Paste the script tag.
- Divi: Use the Code Module in your header or footer template. Paste the script tag.
- Beaver Builder: Add an HTML module to your global header layout.
- Gutenberg: Use the Custom HTML block in your site editor's header template part.
For site-wide deployment, Method 1 or 2 is simpler. Page builder methods work best when you need the chatbot on only certain pages or templates.
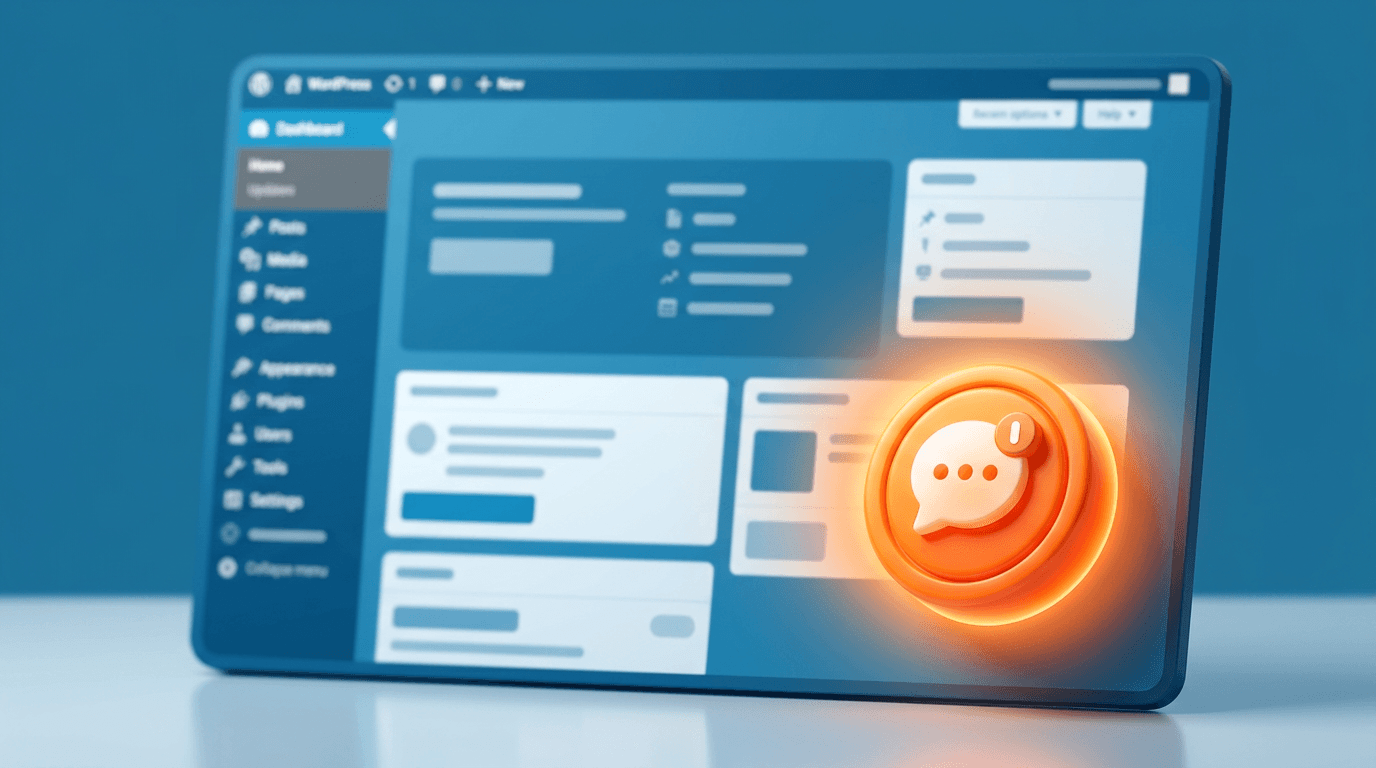
Configuring your chatbot for WordPress
Once the script is installed, configure the chatbot from your rentabot.chat dashboard:
- Crawl your site — enter your WordPress URL and the crawler indexes your pages, posts, and custom post types automatically
- Exclude pages — skip login pages, admin areas, or checkout flows where the chatbot would be distracting
- Set the system prompt — tell the chatbot who it is, what tone to use, and what topics to avoid
- Choose your LLM — pick OpenAI, Anthropic, or self-hosted Ollama
The crawler handles WordPress-specific content structures including Yoast SEO metadata, WooCommerce product descriptions, and ACF custom fields.

Performance impact
WordPress sites are sensitive to performance. Every plugin, every script, every external request matters for Core Web Vitals. Here is exactly what the chatbot widget adds:
- Script size: 38KB gzipped (smaller than most analytics scripts)
- Loading: Fully async — does not block page rendering or DOMContentLoaded
- CSS isolation: Uses Shadow DOM, so zero conflicts with your theme's styles, Elementor, or any plugin CSS
- No jQuery dependency: Pure vanilla JS — no library conflicts
- Lighthouse impact: Typically 0-2 points on Performance score
Pro tip
The widget connects via WebSocket for real-time streaming responses. This single persistent connection is more efficient than polling, which some older chatbot plugins use.
FAQ
Will the chatbot conflict with other WordPress plugins?
No. The widget runs inside Shadow DOM, creating a completely isolated environment. It cannot interfere with — or be interfered by — your theme CSS, jQuery plugins, or page builders. We have tested compatibility with the top 50 WordPress plugins.
Does it work with WooCommerce?
Yes. The crawler indexes WooCommerce product pages, categories, and your store policies. Customers can ask about products, shipping, returns, and sizing — the chatbot answers from your actual store content.
Can I customize the chatbot's appearance?
Fully. Set your brand colors, avatar image, welcome message, and position (bottom-left or bottom-right) from the dashboard. The widget automatically adapts to mobile viewports. See our general installation guide for all customization options.
What about multisite WordPress installations?
Each site in a multisite network needs its own API key. You can use a network-activated plugin (Method 1) and conditionally load different API keys per site using get_current_blog_id().
Ready to add an AI chatbot to your WordPress site? Follow the general setup guide for detailed configuration, or check out the Shopify guide if you also run an e-commerce store.