You can add an AI chatbot to any website by pasting a single script tag into your HTML. No coding experience required, no plugins to install, no server configuration. It works with WordPress, Shopify, Squarespace, Wix, and any platform that lets you add custom HTML. The entire process takes under five minutes.
What do you need before getting started?
Just two things:
- A website — any website with pages you want the chatbot to answer questions about
- A rentabot.chat account — the free trial gives you everything you need to get started
You don't need a developer. You don't need to prepare training data. The chatbot will automatically crawl your website and learn from your existing content.
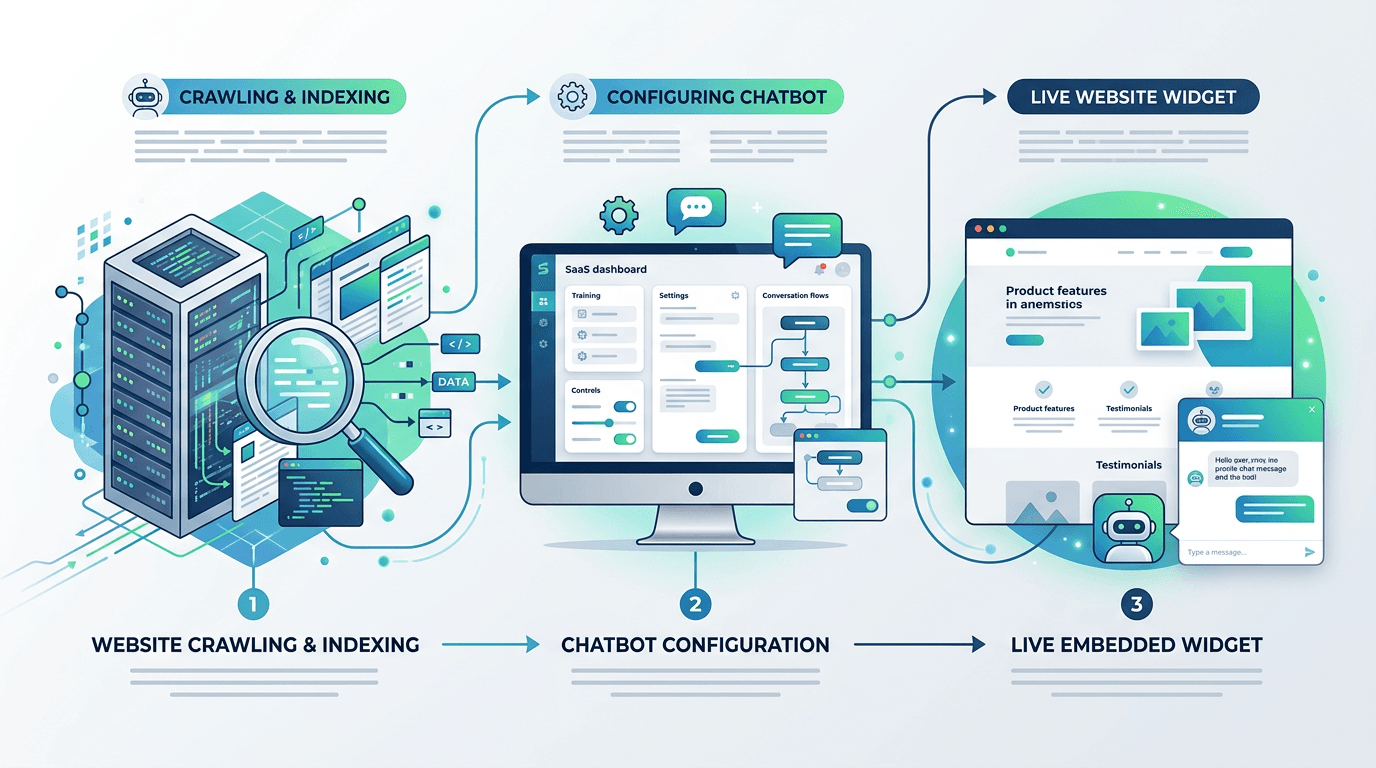
Step 1 — Sign up and connect your website
After creating your account, enter your website URL. The crawler will visit every public page on your site and extract the text content. This typically takes 30 seconds to 2 minutes depending on site size.
The crawler respects your robots.txt rules and only reads publicly accessible pages. It stores the content as embeddings — vector representations that let the AI find relevant answers quickly. If you want to learn more about how this works under the hood, see our guide on what RAG is and how it works.
Step 2 — Customize your chatbot's personality
In the dashboard, you can set your chatbot's name, greeting message, and behavior instructions. For example, you might tell it to always be friendly and professional, to avoid discussing competitor products, or to suggest contacting support for billing questions.
Pro tip
Write your system prompt in plain English. Something like "You are a helpful assistant for [Company Name]. Be friendly, concise, and only answer questions based on the provided documents" works well.
You can also upload a custom avatar image to match your brand. The widget supports custom toggle icons so the chat button blends naturally with your site design.
Step 3 — Copy the embed code
Once you're happy with the configuration, grab the embed snippet from the dashboard. It looks like this:
<script
  src="https://cdn.rentabot.chat/widget.js"
  data-api-key="your-api-key"
  defer
></script>
Paste this anywhere in your HTML — ideally just before the closing </body> tag. The defer attribute ensures the widget loads without blocking your page content.
Step 4 — Test and go live
Refresh your website. You should see the chat toggle in the bottom-right corner. Click it to open the chat window and ask a question about your site content. The chatbot should answer using information from your crawled pages.
If the answers aren't quite right, go back to the dashboard and recrawl specific pages or adjust your system prompt. You can also upload additional documents (PDFs, text files) to expand the chatbot's knowledge. See our guide on training a chatbot on your data for more details.
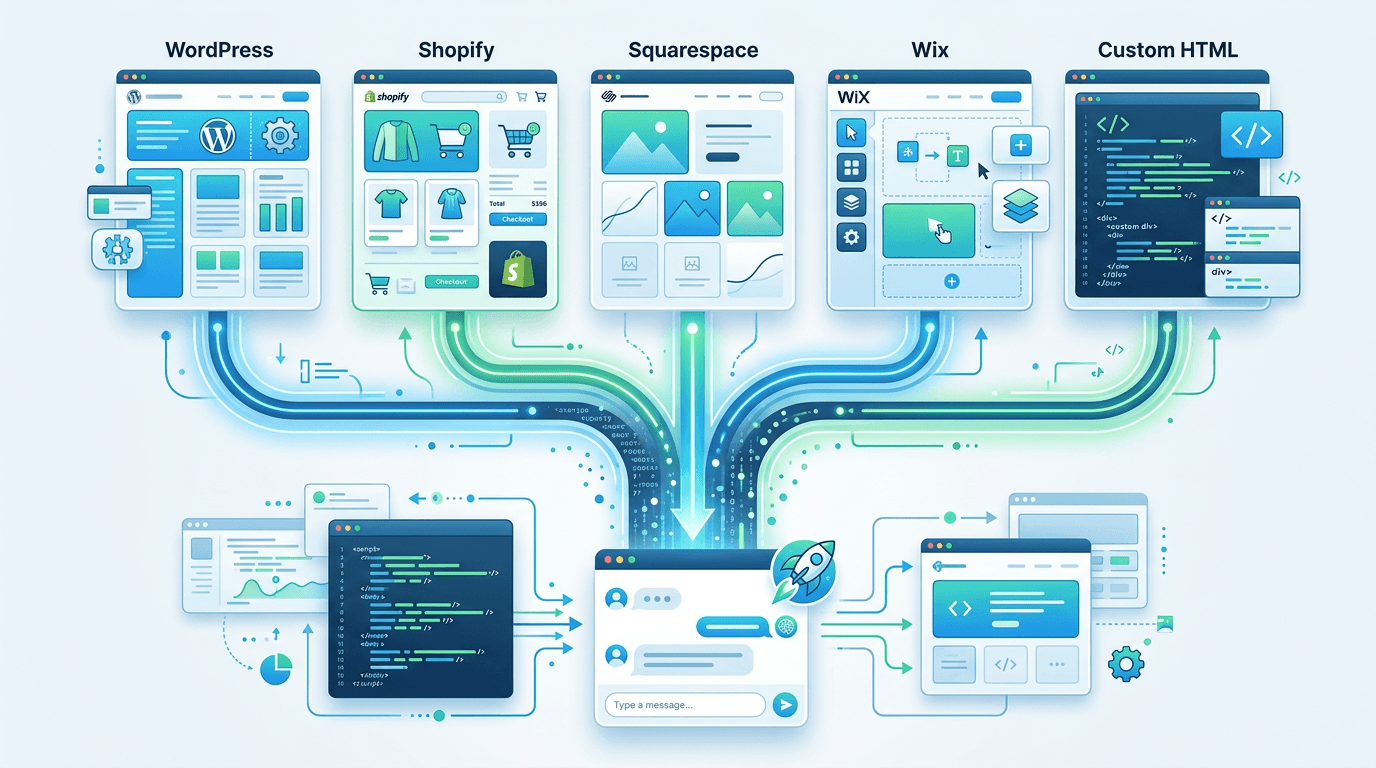
Does it work with your CMS?
Yes. If your CMS lets you add a custom script tag, it works. Here are specific instructions for the most popular platforms:
WordPress
Go to Appearance > Theme Editor and paste the script into your footer.php before </body>. Or use a plugin like "Insert Headers and Footers" to avoid editing theme files directly. For a deeper walkthrough, read our complete WordPress chatbot guide.
Shopify
Go to Online Store > Themes > Edit Code. Open theme.liquid and paste the script before the closing </body> tag.
Squarespace
Go to Settings > Advanced > Code Injection. Paste the script in the Footer field and save.
Wix
Go to Settings > Custom Code > Add Code to Body (End). Paste the script and apply it to all pages.
Custom HTML / Static Sites
Paste the script tag directly into your HTML file before </body>. Works with any static site generator — Next.js, Hugo, Gatsby, Astro, or plain HTML.
How do the different embedding methods compare?
| Method | Setup Time | Performance | Style Isolation | Best For |
|---|---|---|---|---|
| Script tag (recommended) | 2 minutes | Excellent — async loading | Full Shadow DOM | Any website |
| CMS plugin | 5-10 minutes | Varies by plugin | Depends on plugin | WordPress, Shopify |
| iframe embed | 5 minutes | Good — separate context | Full isolation | Sandboxed environments |
The script tag method is what we recommend for almost everyone. It loads asynchronously, uses Shadow DOM to prevent CSS conflicts, and takes the least time to set up.
What about performance?
The widget is designed to have zero impact on your page load speed. Here's how:
- Async loading — the
deferattribute means the browser downloads the script in the background without blocking page rendering - Shadow DOM isolation — the widget creates its own encapsulated DOM, so it can't conflict with your existing CSS or JavaScript
- Minimal bundle size — the widget JavaScript is under 40KB gzipped
- Lazy connection — WebSocket connections are only established when the user opens the chat window, not on page load
Pro tip
Run a Lighthouse audit before and after adding the widget. You should see no meaningful change in your performance score.
Frequently asked questions
How long does it take to add an AI chatbot to a website?
Most users have a working chatbot live on their site in under 5 minutes. The process involves signing up, letting the crawler index your site, and pasting one script tag into your HTML.
Do I need coding skills to add a chatbot?
No. You only need to paste a single line of HTML. Every major CMS has a built-in way to add custom scripts without touching code.
Will a chatbot slow down my website?
No. The widget loads asynchronously with the defer attribute, so it never blocks your page rendering. It uses Shadow DOM isolation, meaning it won't interfere with your existing CSS or JavaScript.
Does the chatbot work with WordPress?
Yes. Paste the script in your theme's footer or use a plugin like Insert Headers and Footers. See our WordPress guide for the full walkthrough.
Ready to try it? Check out the full feature list or start your free trial and have a chatbot running on your site in the next five minutes.